📌 Introduction
For digital forensics professionals, one of the most critical steps in any investigation is acquiring a forensic copy of digital evidence without altering its contents. This process is known as forensic imaging. It allows investigators to create an exact bit-by-bit copy of a storage device to be used for analysis—while preserving the integrity of the original source.
But how exactly is this done? What tools are used, and what precautions must be taken to avoid compromising the evidence?
🧰 What Is Forensic Imaging?
Forensic imaging involves creating a complete, low-level bit-by-bit copy of a storage device. This includes not only visible data but also deleted files, unallocated space, file system metadata, and more.
The core principle is simple: never work on the original evidence. Instead, investigators analyze a forensic image that is identical in every way to the source, ensuring both accuracy and legal admissibility.
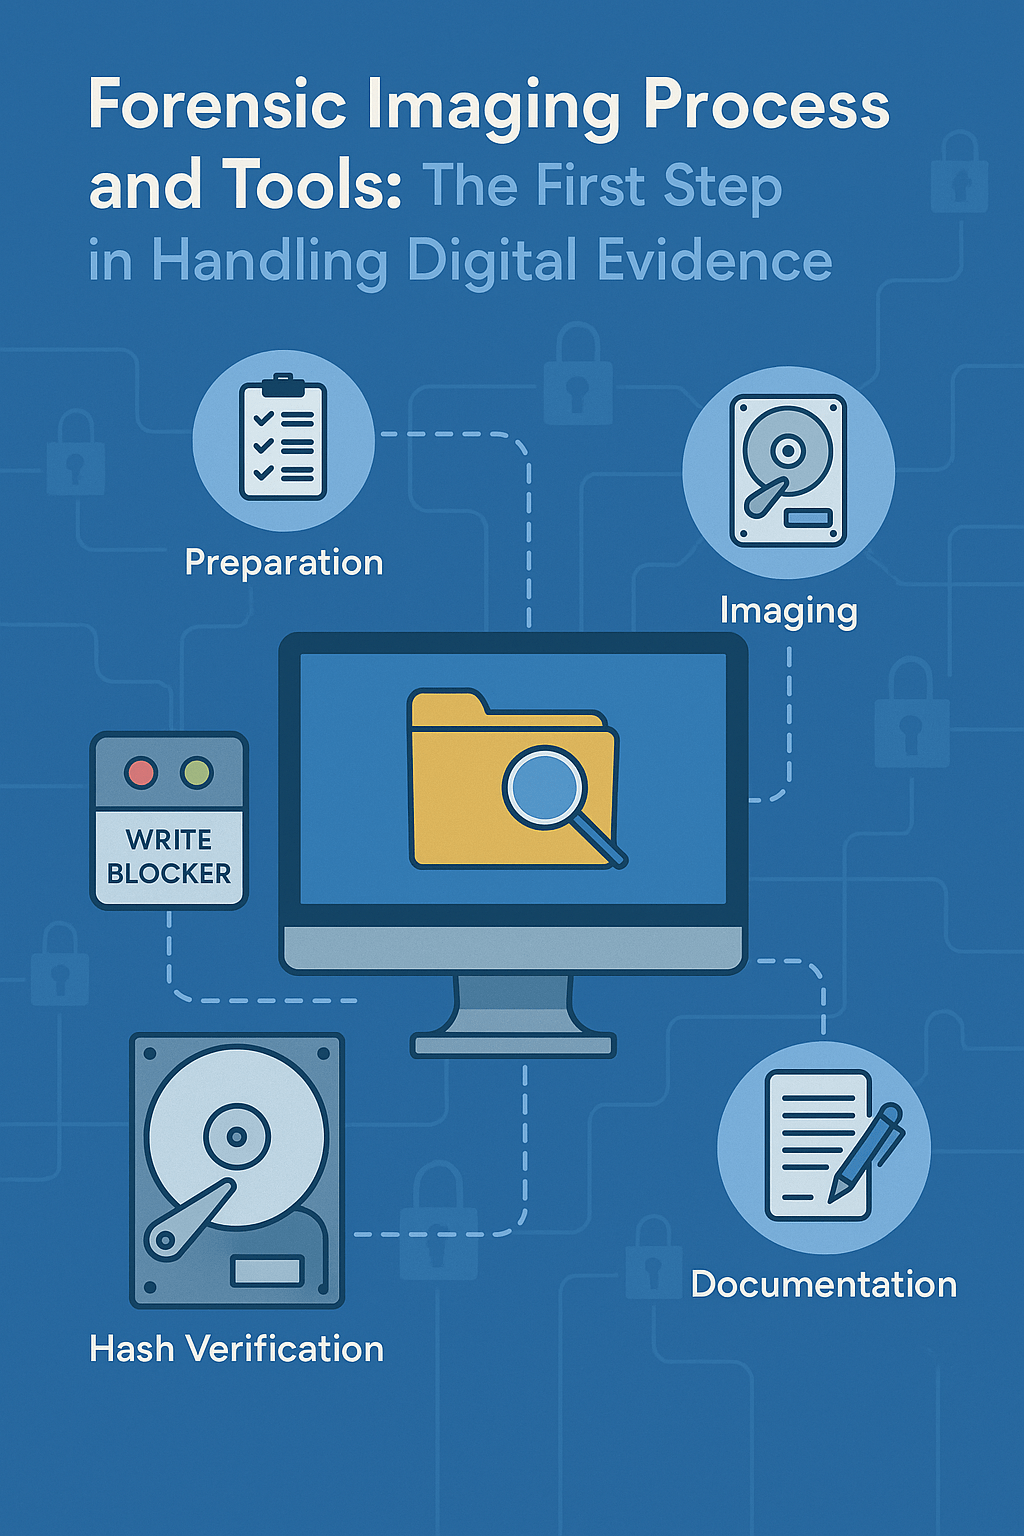
⚙️ Step-by-Step Forensic Imaging Process
1. Preparation
- If the device is powered off, a cold image is acquired. If it’s running, a live image may be necessary.
- A write blocker is used to prevent any data from being written to the original drive.
- The scene is documented carefully, including photos and detailed notes.
2. Imaging
- The desired image format is selected (.dd, .E01, etc.).
- Bit-by-bit copying is performed using forensic tools.
- Hash values (MD5, SHA-1, or SHA-256) are generated before and after imaging to verify integrity.
3. Documentation
- All tools, decisions, and hash values are logged.
- A chain of custody form is maintained throughout to track evidence handling.
🔧 Common Forensic Imaging Tools
| Tool | Platform | Key Features |
| FTK Imager | Windows | GUI-based, supports .E01 format |
| dd | Linux | Command-line, simple and fast |
| Guymager | Linux | GUI, supports multiple formats |
| DC3DD | Linux | dd with enhanced logging |
| EnCase Imager | Windows | Professional, metadata support |
📂 Image File Formats
- .dd: Raw image, uncompressed.
- .E01: Proprietary EnCase format with compression, metadata, and hash.
- .AFF: Advanced Forensics Format, open source, supports compression.
🧪 Example Scenario: Investigating a Compromised Server
Scenario: A company detects unusual outbound connections from a critical internal server. A digital forensics team is called in to acquire a forensic copy of the system for analysis.
Process:
- The system remains powered on to preserve volatile memory.
- A write-blocked external storage device is connected.
- FTK Imager is used to acquire an image in .E01 format.
- SHA-256 hash values are generated for both the original drive and the image.
- The forensic team proceeds with timeline analysis, log inspection, and network traffic examination using the image.
🔐 Hash Verification: Ensuring Integrity
Every forensic image must be verified using hash functions to ensure it has not been altered. A simple example using SHA-256:
bash
“sha256sum server_image.dd > hash_log.txt“
Hash values are recorded in the forensic report. Any change in the image will result in a different hash, making tampering immediately detectable.
🧭 Conclusion
Forensic imaging is one of the foundational steps in any digital investigation. The process ensures that the original evidence remains intact and legally admissible while enabling a thorough technical analysis.
Using proper tools, documenting every step, and verifying with cryptographic hashes are not just best practices—they are essential for preserving the chain of trust in digital forensics.
In the hands of a skilled investigator, a forensic image becomes a snapshot of truth—unchanged, verifiable, and legally defensible.


Yorum bırakın